Last Updated on June 18, 2025
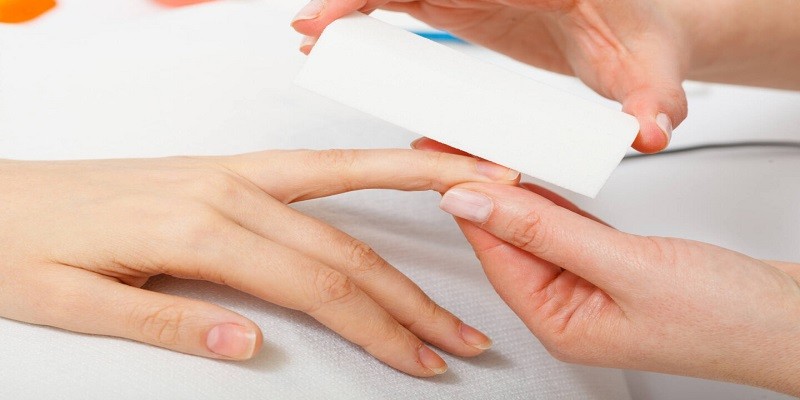
To use a buffer on nails, first clean and dry your nails, then gently move the buffer back and forth across the surface of each nail. As you use the buffer, be mindful not to press too hard or buff too much, as this can damage your nails.
If you’re looking for a way to achieve a smooth, glossy finish on your nails without using nail polish, then using a buffer is an excellent option. Buffing your nails helps to smooth out any ridges or bumps on the surface of your nails, leaving them looking shiny and healthy. However, it’s important to use a buffer correctly to avoid damaging your nails. In this article, we’ll take you through everything you need to know about using a buffer on your nails, including how to prepare your nails, how to use a buffer, and how to care for your nails after buffing. So let’s get started!
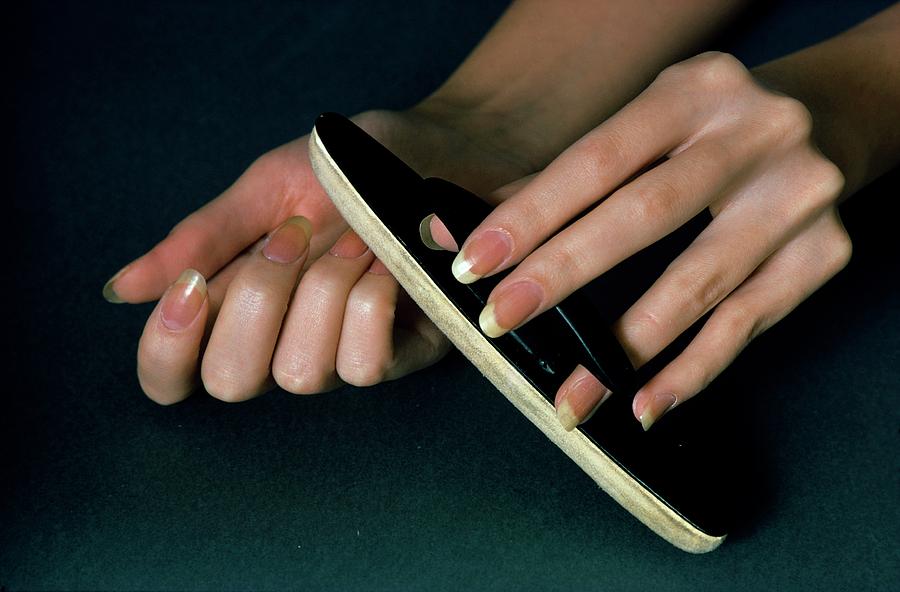
Credit: fineartamerica.com
Understanding The Basics Of Nail Buffing
If you’re wondering what nail buffing is, it simply refers to the process of smoothing, shining and polishing your nails with a buffer. The materials required include a nail buffer and a base coat, top coat, or nail oil to protect and nourish your nails.
There are different types of nail buffers available, including those made of pumice, sandpaper, and foam. Each type of buffer has its specific use and benefits. Pumice buffers are suitable for removing stains and discolorations, while sandpaper buffs are best for shaping and smoothing nails.
Foam buffers are great for creating a high-gloss finish. With a little patience and practice, you can achieve smooth, shiny, and healthy-looking nails in no time.
Step By Step Guide To Buffing Nails
When it comes to achieving perfect nails, using a buffer can make a huge difference. Here’s a step by step guide to buffing your nails. First, prepare your nails by removing any old polish and trimming your nails to your desired length.
Next, file your nails in one direction to shape them. Then, gently buff each nail, starting from the base and working up. Be sure to avoid using too much pressure and buffing too vigorously. Finally, wipe your nails with a clean, dry cloth to remove any residue.
However, be wary of common buffing mistakes such as over-buffing, buffing too frequently or applying too much pressure. Keep these tips in mind and enjoy your perfectly buffed nails!
Achieving A Professional Nail Buffing Look
Achieving a professional nail buffing look can be made easy with some tips and techniques. One significant benefit of nail buffing is that it helps remove ridges and smooth out the surface of your nails. It also promotes circulation and improves the appearance of your nails.
To achieve a professional look, ensure that your nails are clean and dry before buffing. Use gentle strokes, side to side, and back and forth, avoiding a back and forth motion on your nail bed. One common issue is over-buffing leading to thinning of the nails.
Avoid this by buffing only once a week and using a soft buffer. With these tips and techniques, you can be sure to achieve a professional nail buffing look.
Caring For Your Buffed Nails
To care for your buffed nails, make sure to avoid using harsh chemicals. Stick to natural and gentle nail polish removers. Moisturize your nails and cuticles with a good quality lotion. Keep your nails clean to prevent bacterial infections. Avoid filing your nails in a back and forth motion, instead file in one direction only.
Use a soft buffer to avoid damaging the top layer of your nails. Apply cuticle oil regularly to keep your cuticles healthy. Lastly, ensure your nail tools are properly sanitized before and after each use. By following these simple nail care dos and don’ts, you can maintain your buffed nails at home.
The Do’S And Don’Ts Of Buffing Nails
Buffing your nails can make them look healthy and shiny. The benefits of buffing are many, but you need to follow the right techniques. First, choose a soft buffer to avoid damaging the nail. Second, use light pressure and move in one direction with the buffer.
Do not buff too much or too often, as this can cause thinning of nails. Additionally, do not buff ridged or split nails, as this can worsen the condition. For safe nail buffing, limit it to once a month or as needed.
With these do’s and don’ts, you can achieve smooth and lovely nails that look well cared for.
Frequently Asked Questions About Nail Buffing
Nail buffing is a simple way to get shiny and smooth nails. However, it’s essential to use a buffer correctly and safely. When it comes to frequency, it’s best to limit buffing to once a month to prevent over-buffing and weakening nails.
Buffing is generally safe for nails, but using a harsh buffer or buffing too aggressively can damage nails. It’s essential to use a buffer with a low grit number to avoid thinning nails. Buffing can lend nails a smoother, healthier appearance without causing them harm if done with care.
Additionally, buffing is an excellent alternative to using chemical-heavy nail polish, and offers a natural, polished look.
Nail Buffing Techniques For Different Nail Types
Using a buffer on nails can make them look smoother and shiny. The right technique depends on the length and strength of your nails. For short nails, use a fine-grit buffer and only buff in one direction. Long nails can benefit from a multi-grit buffer, starting with the coarsest side and finishing with the finest.
If you have weak nails, use a soft buffer or skip buffing altogether. Stay away from buffing too often, as it can damage the nail bed. Follow these techniques regularly and enjoy beautiful, healthy-looking nails.
Frequently Asked Questions On How To Use A Buffer On Nails?
1. What Is A Nail Buffer, And Why Should I Use It?
A nail buffer is a tool used to smooth the surface of the nails, giving them a glossy, shiny finish. It helps to improve blood circulation in the nail bed and enhances nail growth.
2. How Do I Choose The Right Nail Buffer?
Choose a buffer with a grit of 180-240 for shaping and smoothing the nail’s surface, then use a finer grit of 240-600 for polishing and shining. Always select a buffer made of high-quality materials that will last longer and help prevent damage to your nails.
3. How Often Can I Use A Nail Buffer On My Nails?
You can use a nail buffer once or twice a month, but do not overdo it. Frequent buffering can weaken your nails and cause damage.
4. What Is The Correct Way To Use A Nail Buffer On My Nails?
Begin by shaping and smoothing the nails, then use a finer grit to even out the nails and remove any bumps or ridges. Finish the process with the finest grit to polish your nails, giving them a beautiful shine.
5. How Can I Maintain My Nail Buffer?
Clean your nail buffer after each use, using a soft, dry cloth. You can also wash it with warm water and mild soap, then dry it thoroughly before storing it in a dry place.
Conclusion
Using a buffer on nails is an essential step to achieving a flawless manicure. With the right technique, buffer tools can be effective in smoothing out ridges, shaping nails, and enhancing the shine. Whether you’re a professional nail technician or simply want to maintain healthy and beautiful nails, knowing how to use a buffer can make a huge difference.
Remember to invest in high-quality products, avoid over-buffing, and use a light touch when working with your nails. In addition, maintaining a proper nail care routine and keeping your hands hydrated can help make your nails stronger and more resilient.
With these tips, you’ll be able to enjoy healthy, gorgeous nails that are sure to impress.
