Capturing the Perfect Nail Picture: A Complete Guide
Last Updated on June 18, 2025 by Jaclyn A. Neeley
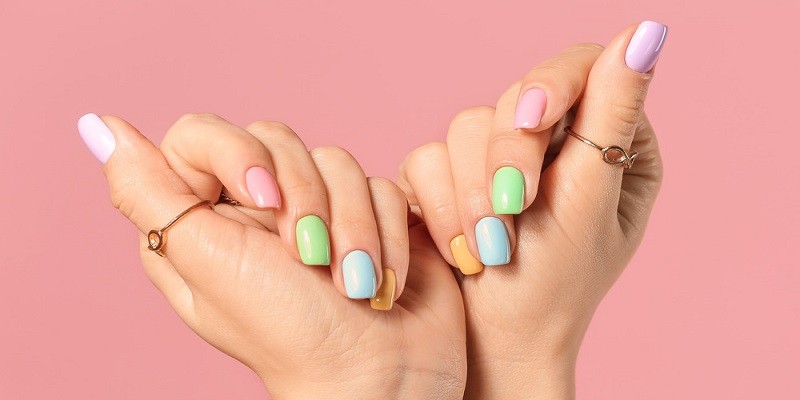
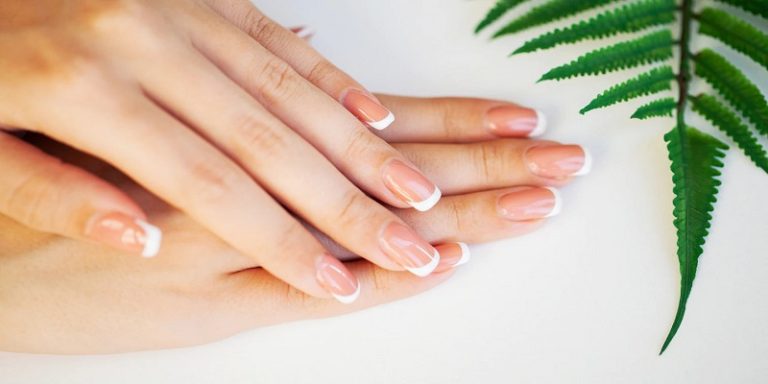
To take nail pictures, position your hand against a plain background, ensure good lighting conditions, and use a high-quality camera. When photographing, try different angles and perspectives, and make sure the focus is on the nails.
As social media continues to grow, sharing nail art on platforms like instagram has become increasingly popular. However, taking a good picture of your nails can be challenging. You want to showcase your work in the best possible way, but getting that perfect shot can require some effort. In this article, we will give you some tips and tricks to help you capture stunning nail pictures that will get the attention they deserve. Whether you are a professional nail artist or an enthusiast looking to show off your latest creations, these tips will ensure your pictures stand out from the crowd.

Credit: blog.hubspot.com
Understanding The Basics Of Nail Photography
Taking perfect nail pictures is not as easy as it seems without proper techniques. Nail photography is different from regular photography as it requires a special focus on the nail’s details. Lighting plays a vital role while capturing nail pictures.
The right camera and lens combo also contribute to capturing stunning nail photographs. To achieve amazing nail pictures, utilize bright and natural lighting, experiment with angles and test different backgrounds, and use a camera with high-quality resolution. Most importantly, take time to practice your techniques and find the perfect combination that works for you, and don’t forget to bring your creativity to the table.
With these tips, you’ll be capturing stunning nail shots in no time.
Preparing For A Nail Photography Session
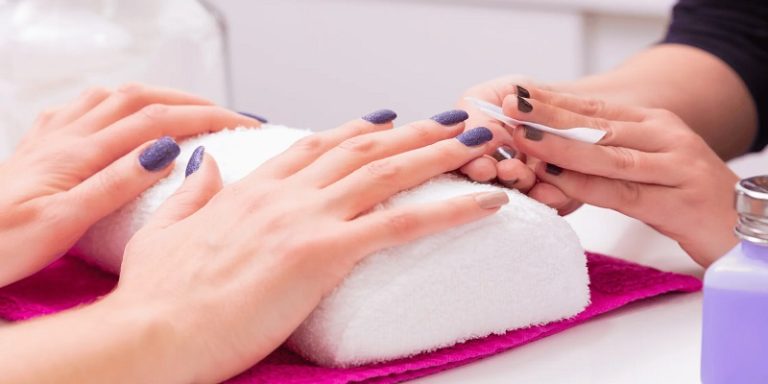
Preparing for a nail photography session can be intimidating, but it doesn’t have to be. Before you start, make sure your nails are clean and prepped. This means removing any old nail polish, filing your nails, and pushing back your cuticles.
As for choosing the perfect nail color and design, pick something that complements your skin tone and personal style. When it’s time to take the actual pictures, make sure your camera is set up with a good lighting source. This could be natural light or artificial, but make sure it’s not too harsh or too dim.
With these tips in mind, you’ll be taking stunning nail pictures in no time!
Mastering The Art Of Nail Photography
Mastering the art of nail photography requires more than just pointing and clicking. Positioning the hands and nails is critical to getting the perfect shot. Experimenting with different angles and focus points can also make a big difference in the final product.
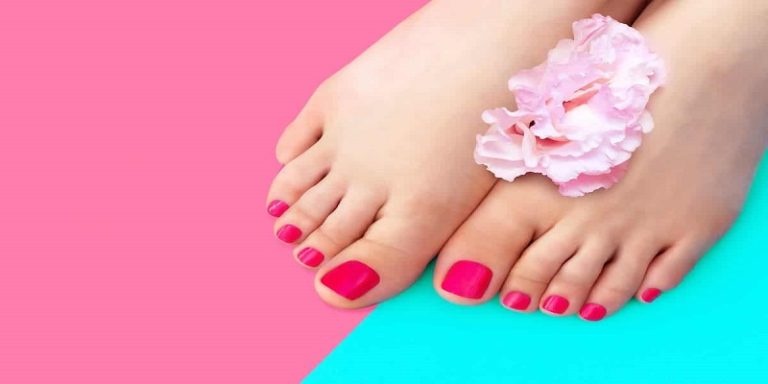
Don’t be afraid to use props and accessories to enhance the composition of your photo. The key is to find a balance between showcasing the nails and creating an interesting image. Play around with lighting and backgrounds to create a unique look.
With practice and patience, you’ll be able to capture stunning nail pictures that are sure to impress.
Enhancing Your Nail Pictures
Taking great nail pictures requires a combination of good lighting, a steady hand, and basic photo editing skills. With the help of filters and presets, you can enhance the color and texture of your nail polish and create a more professional look.
Try experimenting with different filters and presets to find the perfect combination that works for you. In addition to filters, incorporating text and graphic elements to your nail pictures can help make them more visually appealing. Whether you’re promoting your nail art on social media or just want to capture the perfect shot for your personal collection, these basic photo editing techniques will help enhance the overall quality of your nail pictures.
Tips And Tricks For Amazing Nail Photography
Taking pictures of your gorgeous nails can be tricky, but with a few helpful tips and tricks, you can capture stunning shots every time. Experimenting with different nail shapes and lengths is a great way to find what works best for you and your camera.
Playing with different nail styles and patterns can also add an extra pop to your photos. And don’t forget about the background and composition! Get creative and try out different backdrops and angles for a one-of-a-kind nail pic. With these simple tips, you’ll be taking amazing nail pictures in no time!
Sharing Your Nail Pictures Online
Taking beautiful and attractive pictures of your nails is an art that can be enjoyed by anyone. But in order to get your nail pictures seen and appreciated, you need to share them online. Social media can be a powerful tool in the world of nail photography, and understanding its power is essential.
Choosing the right platform to showcase your nail pictures can help you reach your desired audience. Building a strong and engaged community around your nail photography can also help you gain more attention and appreciation. So go ahead and explore and experiment with your nail pictures, and share them with the world!
Building A Career In Nail Photography
Building a career in nail photography is a way to turn your passion into a profession. It’s essential to find paid opportunities and create a portfolio that defines your brand as a nail photographer. The most crucial step to take is to get a good camera that will capture excellent images.
You can start by taking pictures of your own nails, friends’ nails, or family members’ nails. Then, you can create a website or social media page where you can showcase your work to potential clients. Creating content that generates engagement is key to building a following, and it’s essential to keep track of the latest nail trends to stay up to date.
Finally, establishing yourself as a nail photographer may take time, but with patience and dedication, your passion can turn into a profitable career.
Frequently Asked Questions On How To Take Nail Pictures?
Faqs On How To Take Nail Pictures?
#### 1. What is the best camera to use for taking nail pictures?
2. How Do I Choose The Right Lighting For My Nail Pictures?
Natural light is the ideal option, but if it’s not available, a ring light or led light panel can provide even, bright lighting. Avoid using flash, as it can wash out the details and distort the color of the nails.
3. What Are Some Tips For Composing A Great Nail Picture?
Center your subject, play with angles and distance, use negative space, and pay attention to the background. Also, consider adding props to tell a story or convey a certain mood.
4. How Do I Edit My Nail Pictures For The Best Results?
Use photo editing apps like snapseed or lightroom to adjust brightness and contrast, white balance, sharpness, and color balance. Avoid overediting and always aim for a natural look.
5. How Can I Take Consistent And Professional-Looking Nail Pictures?
Create a setup that’s comfortable and conducive to taking pictures, use a tripod or stable surface, and take your time to make sure every detail is captured. Develop your own style and stay true to it.
Conclusion
To sum it up, taking high-quality nail pictures requires some handy techniques, the right equipment, and a bit of patience. Utilize natural lighting as much as possible and experiment with angles to capture the perfect shot. Take multiple pictures to ensure you have enough options to choose from.
Editing your pictures can make a significant difference, but do not overdo it and remember to keep your edits consistent with your brand image. Finally, share your pictures on social media platforms, nail art communities, and your website to reach a larger audience.
With these tips in mind, you can elevate your nail photography skills and showcase your work like a pro. Happy snapping!

