Last Updated on June 18, 2025
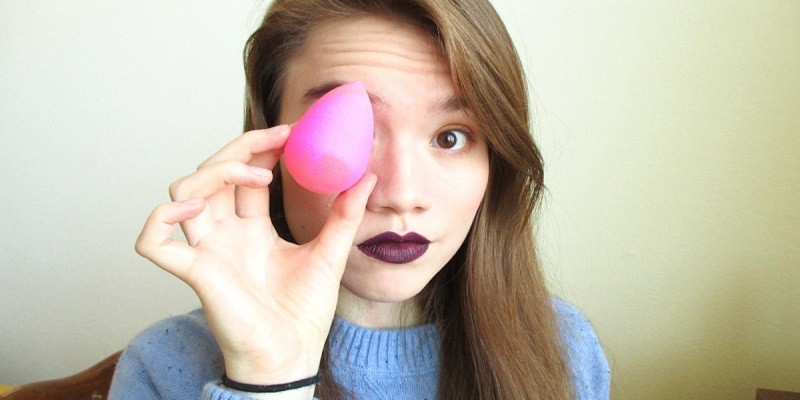
To make a homemade makeup sponge, cut a kitchen sponge into the desired shape and size, then soften it in warm water. There are many benefits to using a homemade makeup sponge, including cost-effectiveness and the ability to customize the size and shape to meet your individual needs.
Homemade sponges can also be made from natural materials like sea sponges or reusable materials like old t-shirts. Additionally, making your own sponge can help reduce waste and is an environmentally-friendly option. With a few simple materials and some creativity, you can make a personalized makeup sponge that will help you achieve a flawless look every time.
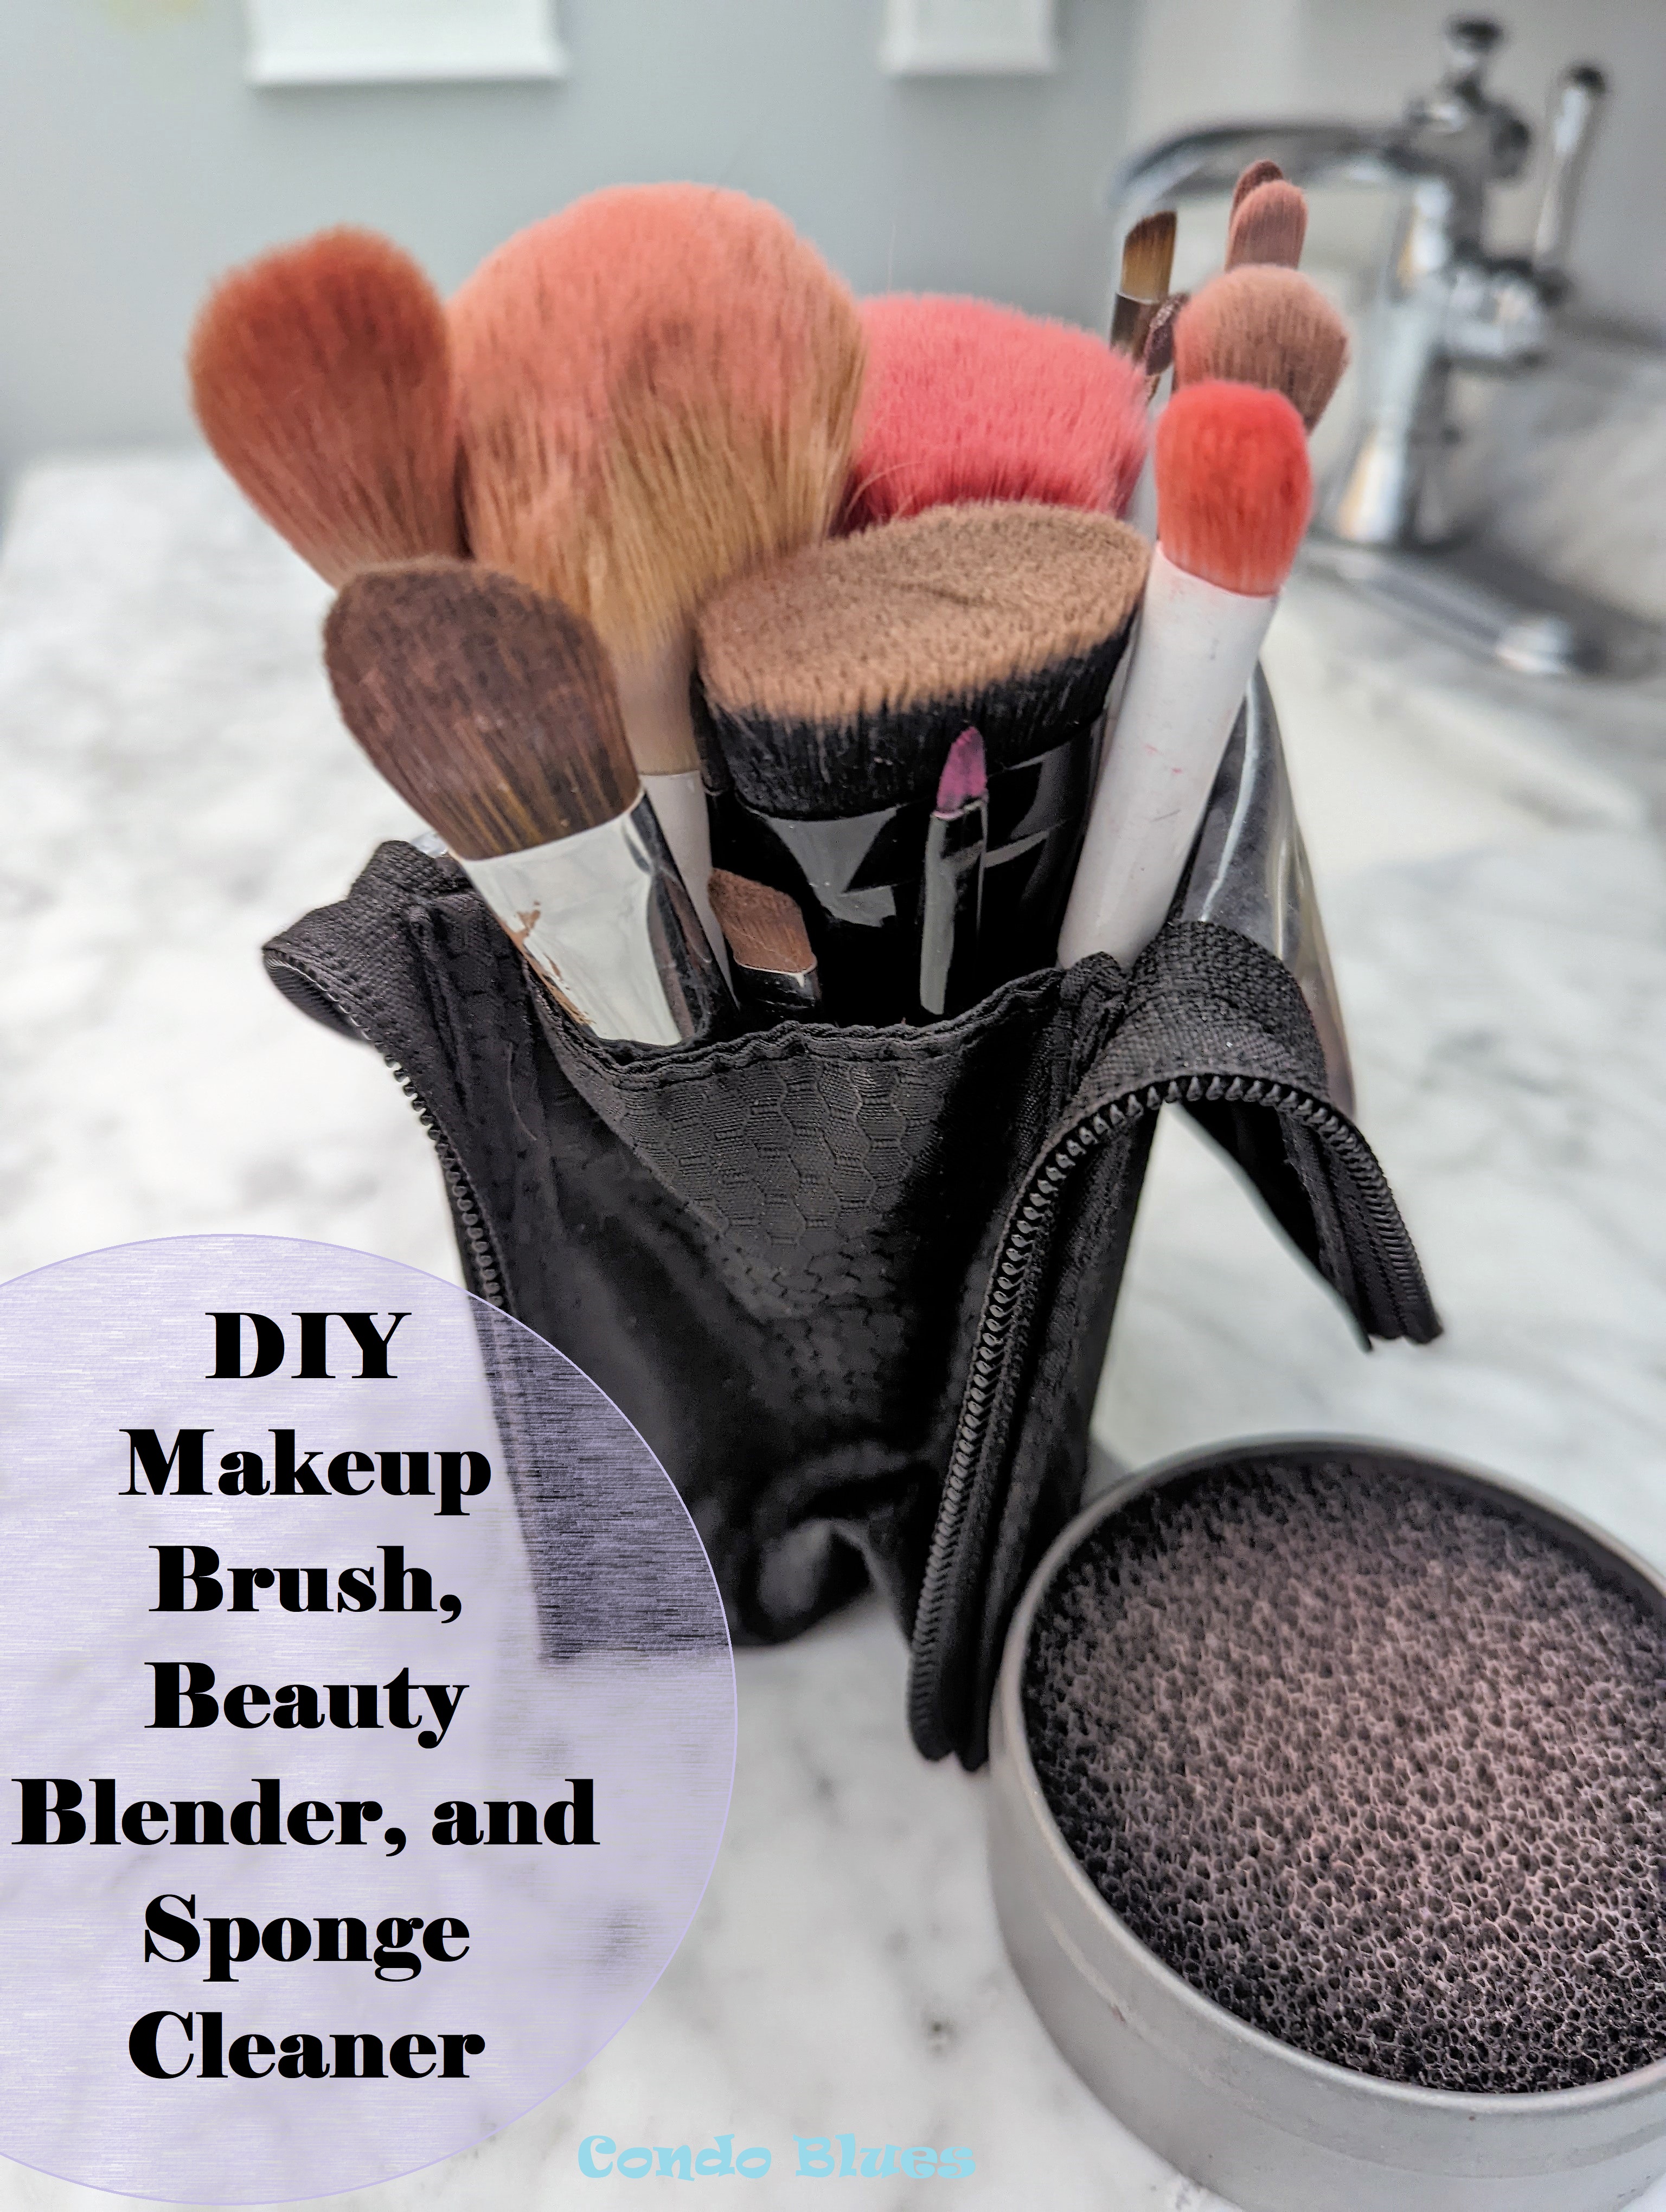
Credit: www.condoblues.com
Materials Required
Making your homemade makeup sponge is a fun and easy way to save money and reduce waste. You can customize it to your preferences and create a high-quality tool without breaking the bank. But before you dive into the diy project, it’s essential to have all the materials required.
List Of Items Required For Making A Homemade Makeup Sponge
Here is a list of all the items you’ll need to make your homemade makeup sponge:
- Super-absorbent foam material
- Sharp scissors or a knife
- A pencil or marker
- A ruler
- Bowl filled with water
- Microwave
- Paper towels
Detailed Description Of Each Item And Its Importance
Now, let’s delve into what each item is and why it’s important:
- super-absorbent foam material: you can use foam materials typically used for crafting or cushions. The foam’s porosity makes it more receptive to liquid-based makeup, making it ideal for sponges.
- sharp scissors or a knife: you’ll need these to cut the foam material into the desired shape and size.
- a pencil or marker: using the pencil or marker to trace the shape on the foam before cutting will give you the precision you need for a more optimized final shape.
- a ruler: use a ruler to measure out the patterns or shapes evenly to get the most out of the material.
- bowl filled with water: you’ll need a bowl filled with water for soaking the sponge after creating it. It helps to expand the material’s porosity and eliminate dust.
- microwave: the microwave will help kill any germs or bacteria on the sponge, ensuring it is clean and hygienic before use.
- paper towels: you’ll need paper towels to remove the moisture from the sponge after taking it out of the microwave and when using it.
Sourcing Options For Materials
You can typically source these materials from a local craft store, fabric stores, or online retailers. If you want to reduce waste, you can use old foam cushions or purchase remnants from a store that sells upholstery fabrics.
Having all the materials ready before starting is essential to ensure a smooth and successful homemade makeup sponge project. Make sure you have these items on hand so you can create the perfect sponge, tailored to your liking.
Step-By-Step Process
Creating a homemade makeup sponge can be a fun and rewarding project. With a few simple steps, you can make a sponge that is customized to your liking. Here is a step-by-step guide on how to create your own homemade makeup sponge.
Explanation Of How The Sponge Mixture Is Created
To make the sponge mixture, you will need a few basic ingredients such as flour, salt, warm water, and food colouring. Combine these ingredients in a mixing bowl and stir until a smooth, even consistency is achieved. The mixture should resemble a thick pancake batter.
Detailed Steps To Create The Mixture
- In a mixing bowl, combine 1/2 cup of flour and 1/4 teaspoon of salt.
- Slowly add warm water to the mixture, stirring constantly until you reach the desired consistency. The mixture should be smooth and thick, but not too watery.
- If desired, add a few drops of food colouring to the mixture to add some colour to your sponge.
- Transfer the mixture to a container with a lid.
Tips For Making The Perfect Texture
- Use warm water when mixing the ingredients as it helps to create a smooth and creamy texture.
- If the mixture is too thick, add a little more warm water until the desired consistency is reached.
- Mix the ingredients thoroughly to prevent clumps and uneven texture.
Ways To Shape The Sponge, From Traditional Shapes To Unique Designs
You can shape your sponge into any shape you like, from a traditional shape to a unique design.
- Teardrop: create a teardrop shape by pinching one end of the sponge and rolling it towards the other end.
- Triangle: cut the sponge into a triangle shape with a pair of scissors.
- Square: cut the sponge into a square shape with a pair of scissors.
Different Drying Methods For Different Shapes
Different sponge shapes require different drying methods.
- Teardrop: place the teardrop-shaped sponge in a container with a lid, and let it air dry for a few hours.
- Triangle: hang the triangle-shaped sponge on a string or clothesline to dry.
- Square: lay the square-shaped sponge flat on a paper towel to dry.
Troubleshooting Tips For Any Issues You May Come Across
Here are some troubleshooting tips for any issues you may face while making your homemade makeup sponge:
- If the mixture is too thick, add a little more warm water.
- If the mixture is too watery, add a little more flour.
- If the sponge has a rough texture, mix the ingredients thoroughly.
Tips For Using Your Homemade Sponge Effectively
To use your homemade makeup sponge effectively, follow these tips:
- Wet the sponge before use to prevent it from absorbing too much product.
- Use a tapping motion when applying makeup with the sponge.
- Clean the sponge after every use to ensure it stays hygienic.
Care And Maintenance Tips To Extend The Sponge’S Lifespan
To extend your homemade sponge’s lifespan, follow these care and maintenance tips:
- Wash the sponge with soap and warm water after each use.
- Replace the sponge every three months.
- Store the sponge in a clean, dry area.
Creating a homemade makeup sponge is a simple and enjoyable process. By following these steps and tips, you can ensure that you create a sponge customized to your liking and maintain its longevity.
Frequently Asked Questions For How To Make A Homemade Makeup Sponge?
Faqs On How To Make A Homemade Makeup Sponge:
### q1. What are the materials that i need to make a homemade makeup sponge?
Q2. Can I Use A Dish Sponge To Make A Makeup Sponge?
Yes, you can use a dish sponge to make a makeup sponge. It is a cheaper and easier alternative to buying a makeup sponge.
Q3. What Is The Best Way To Clean A Homemade Makeup Sponge?
You should wash your homemade makeup sponge with warm water and mild soap after each use. You can squeeze out excess water and let it air-dry.
Q4. Can I Use A Homemade Makeup Sponge For Liquid, Cream, And Powder Products?
Yes, you can use a homemade makeup sponge for liquid, cream, and powder products. However, you may need to clean it thoroughly between uses to avoid product build-up.
Q5. How Long Does A Homemade Makeup Sponge Last?
A homemade makeup sponge can last for several uses if you clean and take good care of it. However, it is recommended to replace it every three to six months.
Conclusion
In the world of beauty, makeup sponges have become an essential tool for makeup artists and enthusiasts alike. However, purchasing new sponges constantly can become expensive. By making your own homemade makeup sponge, not only will you save money, but you’ll also have a makeup tool that is unique to you.
With just a few simple steps, a few materials and some time, you can create a makeup sponge that is perfect for your needs. Remember to use the right type of foam, and to keep it clean on a regular basis.
By taking care of your homemade makeup sponge, you’ll be able to use it for a long time. Making your own makeup sponge is a fun and creative way to achieve flawless makeup application, so why not give it a try?
