
Last Updated on January 14, 2026
For beginners, contour first, then highlight to enhance facial features. Follow a C shape for highlighting and an E shape for contouring.
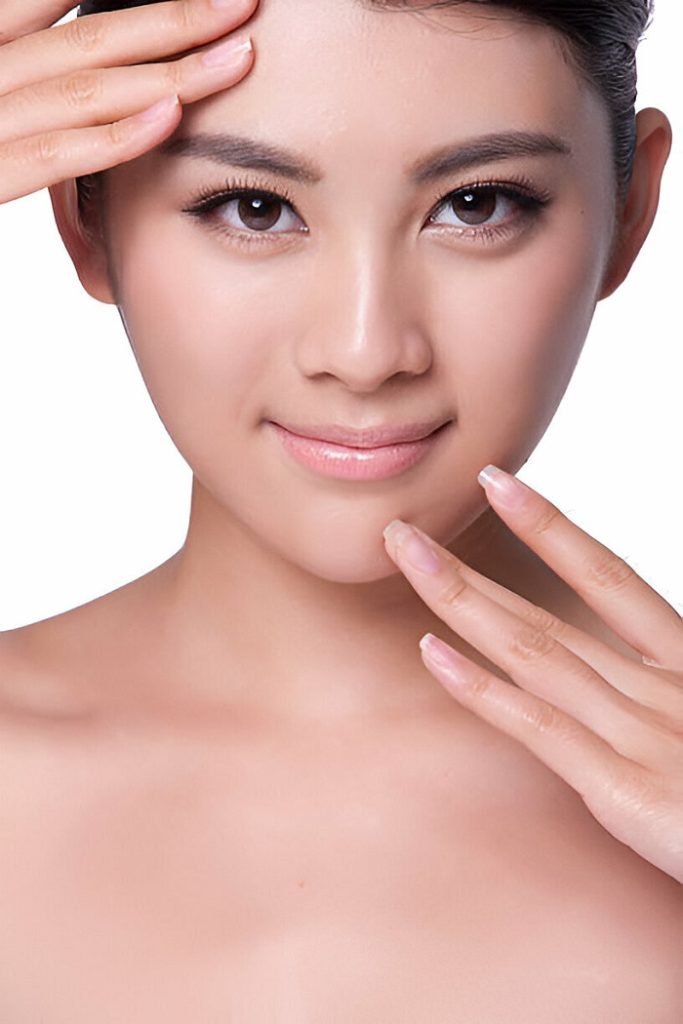
When starting your makeup routine, applying foundation is key before contouring and highlighting to achieve a flawless base. Understanding the basic rules of contouring and highlighting can help you achieve a natural, sculpted look effortlessly. By using the right tools and techniques, even beginners can master the art of contouring and highlighting for a radiant complexion.
Discover the secrets to achieving a perfectly contoured and highlighted face in just a few simple steps. With the right products and application methods, you can enhance your features and achieve a flawless makeup look every time.
Basic Principles
Contouring and highlighting are makeup techniques that enhance facial features. Contouring creates shadows, while highlighting adds light to high points.
Difference Between Contouring And Highlighting
Contouring defines and sculpts features by using a darker shade, while highlighting accentuates areas with a lighter shade.
Tools And Products Needed
- Contouring product (cream or powder)
- Highlighter
- Makeup brushes (contour brush, blending brush)
- Foundation
- Setting powder
Remember, highlighting follows a C shape, while contouring follows an E shape on your face. Start with contouring before applying highlighter for a natural look.
Techniques For Contouring And Highlighting
Contouring and highlighting are essential techniques in makeup application that can enhance facial features and create a more defined and radiant look. Properly executed contouring and highlighting can add dimension and depth to the face, accentuating the cheekbones, defining the jawline, and bringing light to the high points of the face. Below, we will delve into step-by-step guides for contouring and highlighting, as well as common mistakes to avoid.
Step-by-step Guide For Contouring
Contouring involves using a darker shade to create shadows and define specific areas of the face. Follow these steps for effective contouring:
- Start by applying a foundation that matches your skin tone.
- Identify the areas of your face where shadows naturally fall, such as the hollows of your cheeks, temples, and along the jawline.
- Using a contouring powder or cream that is a few shades darker than your natural skin tone, apply the product to the identified areas using a contour brush or makeup sponge.
- Blend the contour product carefully to create a seamless, natural-looking shadow.
- Avoid harsh lines and build the product gradually to achieve the desired intensity.
Step-by-step Guide For Highlighting
Highlighting involves using a lighter shade to bring light and emphasis to certain areas of the face. Follow these steps for effective highlighting:
- After contouring, apply a concealer or highlighter that is a few shades lighter than your skin tone to the high points of your face, such as the tops of your cheekbones, bridge of your nose, and the cupid’s bow.
- Gently blend the highlighter using a makeup sponge or brush to create a natural, luminous glow.
- Avoid over-application of highlighter, as it can result in an overly shimmery or greasy appearance.
Common Mistakes To Avoid
When contouring and highlighting, it’s important to be mindful of common mistakes that can detract from the overall effect. Here are some mistakes to avoid:
- Using too much product, which can result in a heavy and unnatural appearance.
- Blending improperly, leading to visible lines and an uneven finish.
- Choosing the wrong shades for contouring and highlighting, which can clash with your natural skin tone.
- Skipping the step of setting your makeup with a translucent powder, which can lead to makeup smudging and fading throughout the day.
Advanced Tips And Tricks
Discover advanced tips and tricks for mastering contouring and highlighting in this beginner’s guide. Learn how to achieve a flawless look with expert techniques for defining and enhancing your facial features effortlessly. Elevate your makeup skills and unveil a radiant, sculpted finish with these insider secrets.
Contouring For Different Face Shapes
Understanding your face shape is crucial for effective contouring. Different face shapes require different contouring techniques. Here’s a quick guide:
- Round Face: Focus on creating angles by contouring along the temples, under the cheekbones, and along the jawline.
- Oval Face: Contour the outer edges of the forehead, along the jawline, and lightly under the cheekbones to add dimension.
- Square Face: Soften the angles by contouring the outer edges of the forehead, under the cheekbones, and along the jawline.
- Heart-Shaped Face: Contour the temples, under the cheekbones, and along the jawline to balance the wider forehead.
Creating a Natural vs. Dramatic Look
Creating A Natural Vs. Dramatic Look
Contouring and highlighting can be adapted to achieve both natural and dramatic looks. Here’s how to differentiate between the two:
- Natural Look: Use a light hand and soft, blending strokes. Focus on enhancing your natural features subtly for a soft and radiant appearance.
- Dramatic Look: Apply more product and focus on creating bold contrasts. Emphasize sharp angles and high points for a more striking and defined look.
Blending Techniques
Effective blending is key to achieving seamless contouring and highlighting. Here are essential blending techniques to master:
- Using a Damp Beauty Sponge: Dab and blend in a pressing motion for a natural finish.
- Soft Brush Strokes: Use soft, circular motions to blend out harsh lines and create a smooth transition between contour and highlight.
- Layering Products: Layering cream and powder products can help intensify the contour and highlight while maintaining a natural blend.
Frequently Asked Questions
Do You Contour Or Highlight First?
For a flawless look, it’s a personal preference. Some blend highlight and contour together, while others highlight first. Choose what works best for you.
What Is The Rule To Follow When Highlighting And Contouring?
When highlighting and contouring, remember to follow the C shape for highlighting and the E shape for contouring. Start with contouring and then apply the highlighter. You can either map out both the highlight and contour at once or blend out the highlight first, then apply the contour on top.
What Are The Golden Rules Of Contouring?
To contour like a pro, follow these golden rules: 1. Highlight in a C shape, contour in an E shape. 2. Start with contour, then apply highlighter. 3. Blend well for a natural finish. 4. Use shades that complement your skin tone.
5. Practice and find what works best for you.
What Is A Good Contour For Beginners?
The KVD Shade + Light Palette is a good contour option for beginners. It includes a highlighter paired with each contour color, simplifying the process for those with minimal experience. Start by contouring and follow up with highlighter, following the C shape for highlighting and E shape for contouring.
Choose the method you prefer.
Do You Contour Or Highlight First?
Some artists choose to map out both the highlight and contour at once, then blend them out together. While others blend out the highlight first, then apply contour on top. It doesn’t matter which method you choose, go with which one you prefer.
Conclusion
Contouring and highlighting can seem intimidating for beginners, but with the right tools and techniques, anyone can achieve a flawless, sculpted look. Remember to follow the golden rule of contouring, enhance high points with highlighter and emphasize with contour elsewhere.
Choose the method that works best for you, whether it’s mapping out both at once or blending out highlight first. With practice and patience, you’ll be able to unveil your natural glow in no time.
