Last Updated on June 18, 2025
If you are looking for a fun and easy way to do your own nails, Ohora nails are a great option! They have many different designs to choose from and are very easy to apply. Here is a step by step guide on how to use them:
1. Start with clean, dry nails. If you have polish on your nails, make sure it is completely removed.
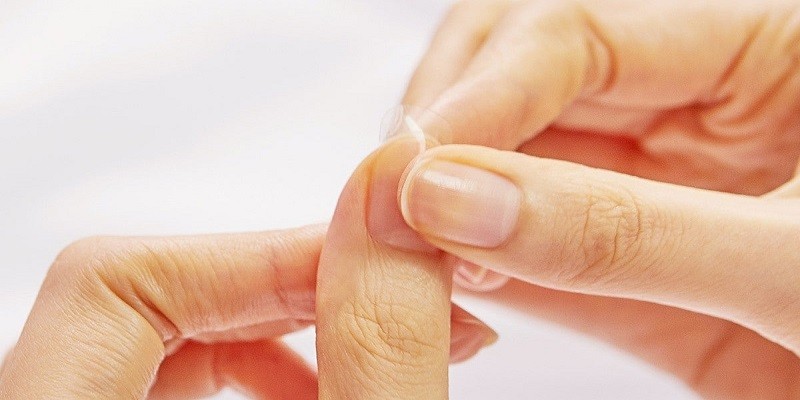
2. Choose the design you want and cut out the sticker that goes with it.
3. Place the sticker on your nail and press down firmly.
4. Use a file to file off any excess sticker that is hanging over the edge of your nail.
5. Apply a top coat of clear polish and let dry.
Ohora Nail Tutorial // Step by Step Guide
- Purchase Ohora nails from a beauty supply store or online
- Choose the size and shape of Ohora nail that you want to use
- File down the sides of your natural nail with a nail file to create a smooth surface for the Ohora nail to adhere to
- Apply a layer of clear adhesive glue to your natural nail and to the underside of the Ohora nail
- Press the Ohora nail onto your natural nail and hold for 10-15 seconds until it is secure
How to Remove Ohora Nails
If you’re looking to remove your Ohora nails, there are a few things you’ll need to do. First, gently file down the top coat of your Ohora nails. Next, use a cotton ball soaked in acetone to remove the remaining polish from your nails.
Finally, buff and shine your nails for a polished look.
Credit: www.amazon.com
How Do I Apply Ohora Nails?
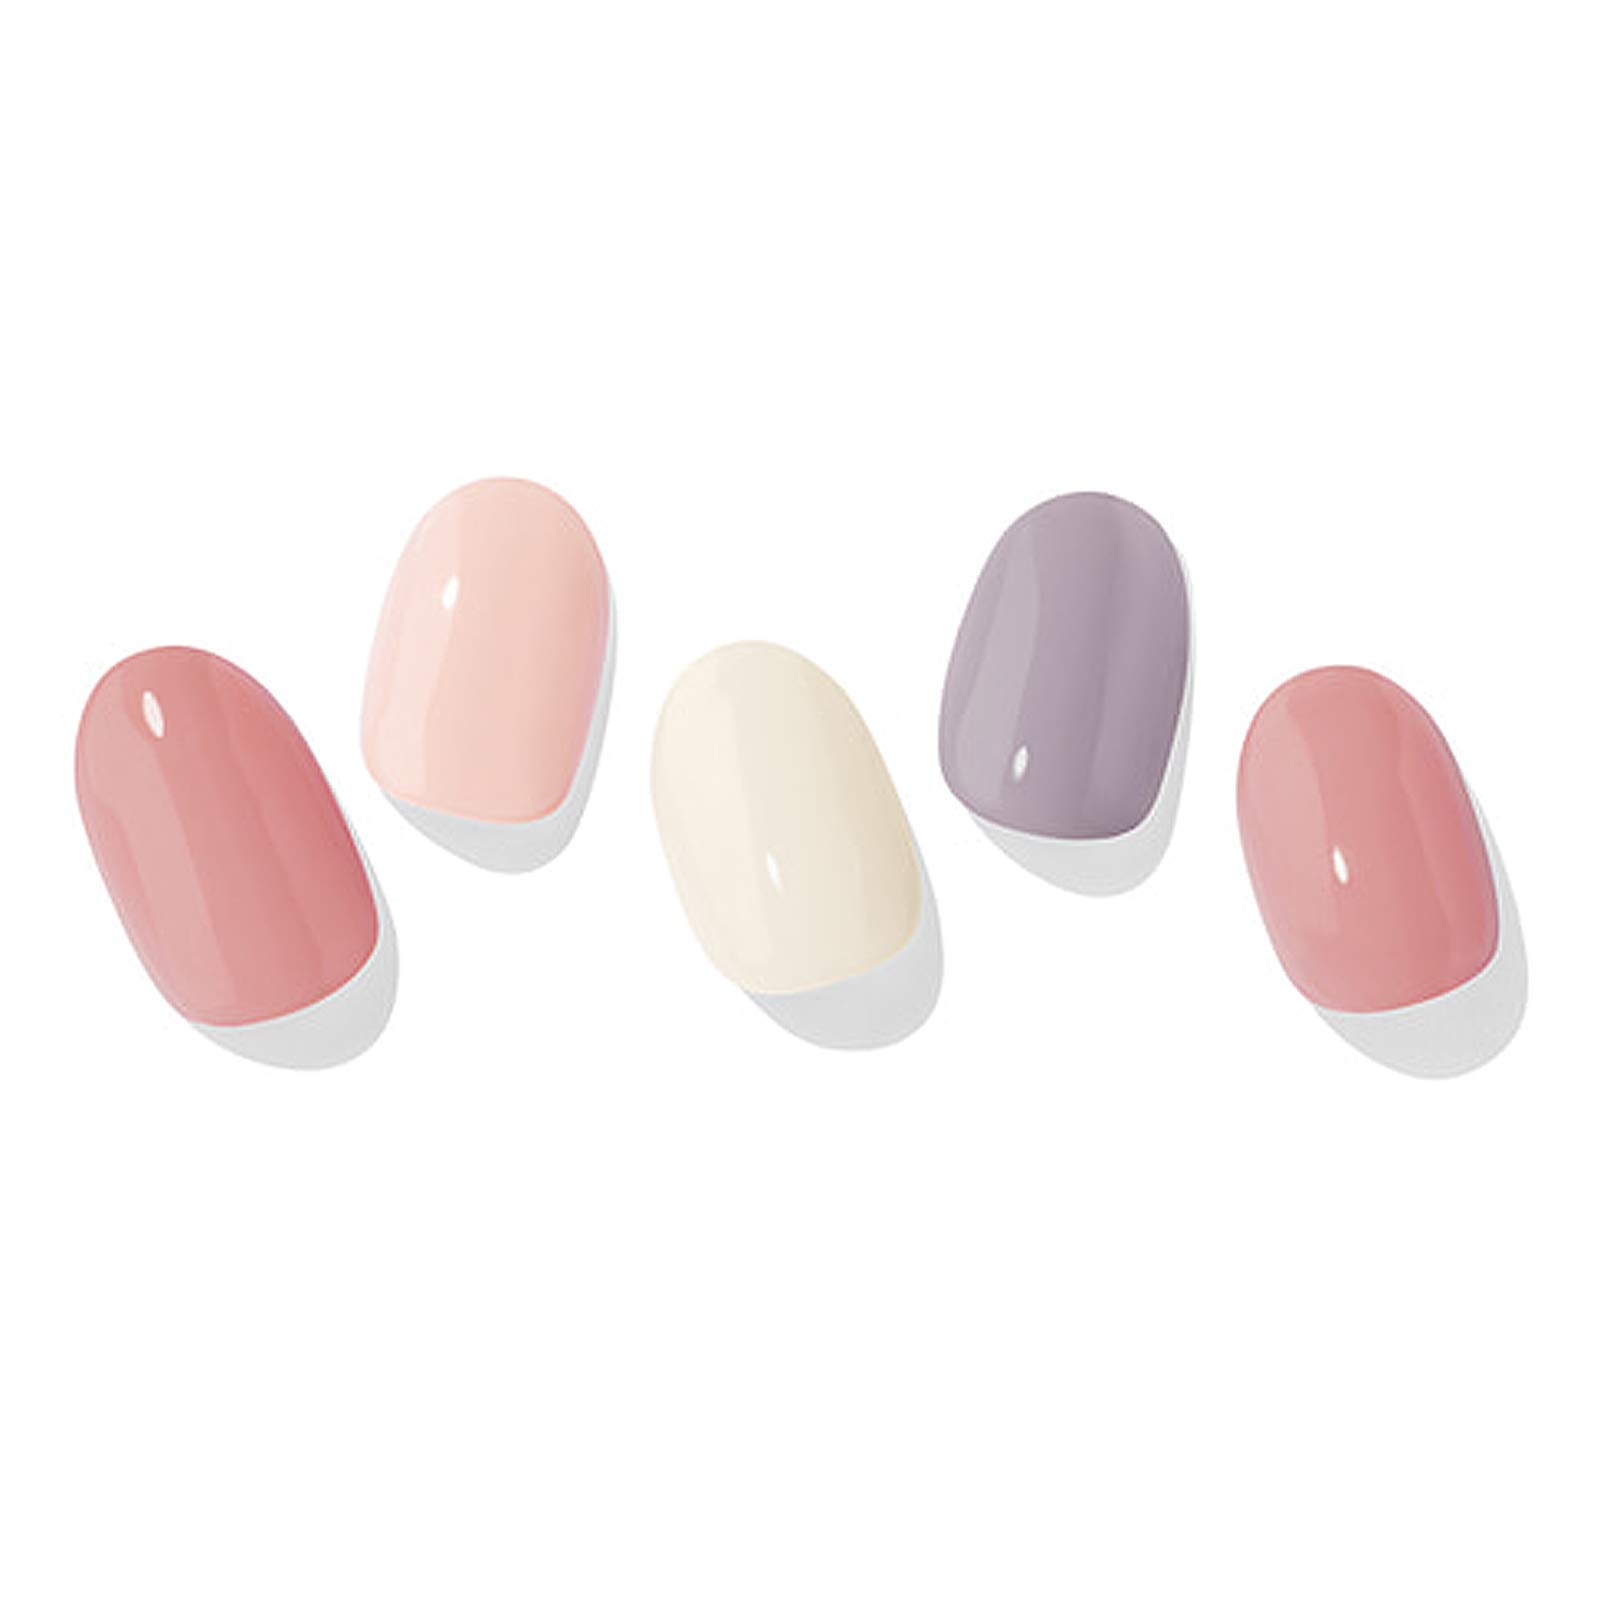
If you are looking to add a touch of glamour to your nails, then Ohora nails may be the perfect option for you. These press-on nails come in a variety of colors and designs, so you can find the perfect look to complement your outfit. Applying Ohora nails is quick and easy, and they last for up to two weeks.
Here is a step-by-step guide on how to apply them:
1. Begin by preparing your nails. Start with clean, dry nails that have been filed and shaped.
If you have any nail polish on your nails, make sure to remove it completely before proceeding.
2. Select the correct size Ohora nail for each finger. Each package comes with numbered sizes that correspond to different fingers.
3. Apply a thin layer of glue to the back of the Ohora nail . Be careful not to use too much glue, as this will make it difficult to remove the nail later on.
4 .
Press the nail onto your finger and hold it in place for 10-15 seconds until the glue dries . Repeat this process for each finger until all 10 nails are applied .
5 Allow the glue to fully dry before doing anything else with your hands (typically takes about 1 hour).
How Long Do I Cure Ohora Nails?
If you’re looking to get your nails done at Ohora, one of the most popular nail salons in NYC, you may be wondering how long the process will take. Fortunately, it’s a relatively quick and easy process that should only take about an hour or so.
First, you’ll need to choose the type of nails you want.
Ohora offers a variety of options, from natural-looking gel nails to more flashy and colorful designs. Once you’ve made your selection, a technician will prep your nails for the gel application. This involves cleaning and shaping your nails so that the gel can adhere properly.
Next, the gel is applied to your nails and cured under a UV light. This step usually takes about 10-15 minutes. Once the gel is set, it’s time for any final touches like painting or applying rhinestones.
And that’s it! You’re now ready to show off your beautiful new nails.
How Do You Use Ohora Semi Cured Gel Nails?
If you’re looking for a quick and easy way to apply gel nails, Ohora’s semi-cured gel nail kit is the perfect choice. The kit includes everything you need to get started, including a base coat, top coat, and color polish. Simply apply the base coat and color polish to your nails, then cure under the included LED light for 60 seconds.
Once cured, apply the top coat and cure again for 60 seconds. Your gel nails will be dry to the touch and ready to last up to 2 weeks!
How Do You Stretch Ohora?
If you’re looking to add a little extra length to your lashes, Ohora has got you covered! Here’s how to stretch your Ohora lashes for a more dramatic look:
1. Start with freshly cleansed lashes.
This will help ensure that your lash glue will adhere properly and that your lashes will stay put all day long.
2. Next, apply a thin layer of lash glue along the base of your strip lash. Wait a few seconds for the glue to become tacky before applying the lash strip to your lid.
3. Once the strip is in place, use an eyelash curler to curl your natural lashes and blend them with the falsies.
4. For extra drama, apply a coat or two of mascara. This will help further blend your natural lashes with the false ones and give you an even more voluminous look.
Conclusion
If you’re looking for a quick and easy way to give yourself a manicure, Ohora nails are the way to go! These pre-glued nail stickers are available in a variety of colors and designs, and they last for up to two weeks. Here’s how to use them:
1. Start with clean, dry nails. If your nails are oily, you can gently wipe them with a nail polish remover pad before applying the stickers.
2. Choose the size that best fits your nails and trim the stickers if necessary.
3. Peel off the backing and apply the sticker to your nail, starting at the base and smoothing it out as you go.
4. Press down firmly on the sticker to make sure it’s secure, then file off any excess material around the edges of your nail.
