Last Updated on June 18, 2025 by Jaclyn A. Neeley
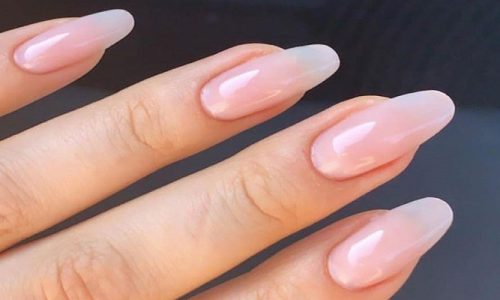
To use builder gel on natural nails, prep your nails by buffing, cleansing, and applying a base coat. Apply a thin layer of builder gel and cure it under a uv or led lamp.
Builder gel is a popular nail enhancement option, known for its durability and versatility. Unlike traditional nail polish, builder gel can be sculpted and shaped to create a desired nail shape and length. It is perfect for those who want to add strength and structure to their natural nails or create stunning nail designs. However, applying builder gel can be tricky, especially for beginners. In this article, we will give you a step-by-step guide on how to use builder gel on natural nails. From nail prep to curing, we’ve got you covered!

Credit: www.lorealparisusa.com
Overview Of Builder Gel And Its Benefits
Builder gel is a thick viscous substance used to strengthen and extend natural nails. It’s a polymer that bonds with the natural nail when cured with a uv or led lamp. Builder gel is beneficial because it offers added strength to natural nails, making them less prone to breakage and chipping.
Furthermore, it allows the nails to grow healthier because it’s applied directly to the natural nail bed. One common misconception associated with builder gel is that it damages natural nails. However, if applied and removed correctly, builder gel can actually enhance the health and durability of natural nails.
It’s important to note that builder gel should only be applied by a licensed nail technician to ensure proper technique and safety.
Preparing Your Natural Nails For Builder Gel Application
Proper preparation of natural nails is essential before application of builder gel. Firstly, ensure to clean and sanitize the nails to prevent infection. Shape and file the nails to your preference but be gentle to avoid damaging the nail bed.
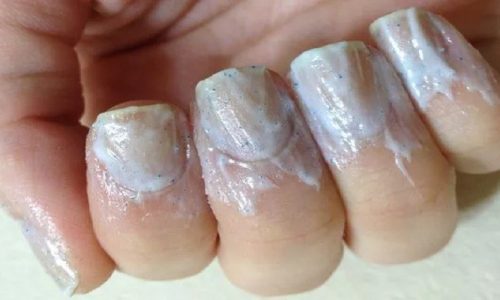
Next, use a nail buffer to remove the shine on the nails and dehydrate them with alcohol or nail dehydrator. Pay close attention to the cuticles and ensure they are pushed back and moisturized. With these steps, your natural nails are now ready for the builder gel application process.
Remember to always follow instructions provided by the product manufacturer for the best results.
Applying The Builder Gel On Your Natural Nails
Applying builder gel on your natural nails can be a daunting task, but with the right techniques, it’s easy. Before you start, ensure that you choose the right type of builder gel. A thick consistency gel is best for adding thickness and strength to your natural nails.
Begin by applying the first layer of gel, and make sure to cure it for a few seconds under uv light to set it. Repeat the process until you achieve the desired thickness, allowing each layer to dry and cure under uv light.
Once done, use uv light to set the final layer of gel. With these simple steps, you can have perfectly strong and durable natural nails.
Tips And Tricks For Creating A Perfect Builder Gel Finish
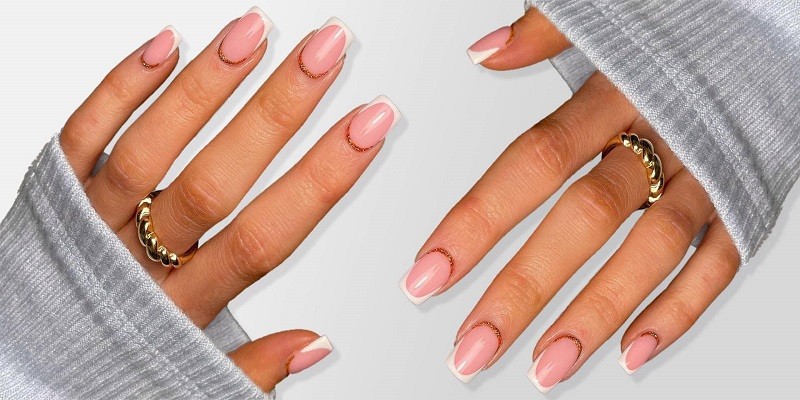
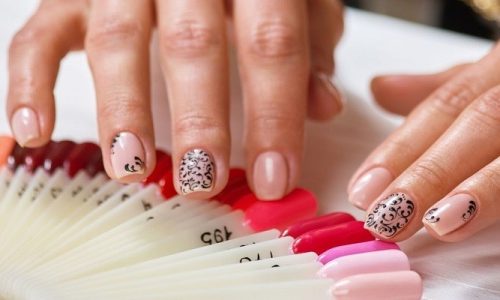
Creating a perfect builder gel finish requires some tips and tricks. Smoothing the gel surface is essential for a flawless look. Filing the edges and tips is important for a neat and clean appearance. Adding nail art to your builder gel manicure can enhance its beauty.
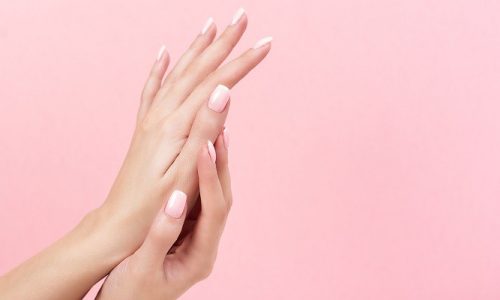
To achieve a natural look, use a builder gel that matches your nail color. Apply a thin layer of gel and cure it under the lamp, repeating the process until you achieve the desired result. Remember to cap the free edge of your nails with every layer.
With these simple steps and attention to detail, you can achieve a perfect builder gel finish on your natural nails that will last for weeks.
Maintaining Your Builder Gel Manicure
Builder gel manicure is a popular way of getting nails to look shiny and healthy. Maintaining this type of manicure requires a few specific steps. Proper care includes keeping your nails strong and healthy, preventing lifting, breaking, or chipping. To help fix broken or damaged nails, you’ll need to file or clip them and apply more gel.
To prevent chipping, you can apply a protective coat of polish or use a base coat. Consistently maintaining your builder gel manicure will ensure that your nails stay looking beautiful and strong. Following these simple steps can save you time and prevent further damage to your nails.
Keep your nails looking their best with proper care and maintenance.
The Dangers Of Using Builder Gel
Builder gel is a popular cosmetic product used to enhance natural nails. However, using builder gel can pose potential risks. It is important to take precautions and protect your hands and nails while applying. Common signs of allergic reactions should also be monitored.
Some of the dangers associated with using builder gel include skin irritation, nail damage, and bacterial infections. To avoid these risks, it is advised to choose high-quality products, avoid overuse, and have a licensed professional perform the application. Always prioritize safety and health when using any type of nail product to prevent unwanted and potentially harmful consequences.
Frequently Asked Questions About Builder Gel
Builder gel is a popular solution for those looking for long-lasting, durable manicures. One of the most common questions about this product is the cost of getting a builder gel manicure. Prices can vary depending on the salon, but expect to pay more for this type of service than a traditional manicure.
Additionally, builder gel manicures can last up to three weeks, making them a worthwhile investment for those seeking low maintenance nails. While it is possible to remove builder gel at home, it is not recommended as the process can damage natural nails.
Those with weak nails can still get a builder gel manicure, but it is important to ensure that proper nail care is taken before and after the service to prevent further damage.
Frequently Asked Questions Of How To Use Builder Gel On Natural Nails?
How To Use Builder Gel On Natural Nails? Faqs
### 1. What is builder gel? Builder gel is a thick viscous formulation used to extend the nails’ length. It contains a curing agent that dries and hardens the gel under uv or led light.
2. How Do I Prepare My Natural Nails Before Applying Builder Gel?
You need to file your nails, push back your cuticles, and clean your nails with prep solution before applying builder gel. Do not use any moisturizing cream or oil on your nails.
3. Can I Apply Builder Gel On Natural Nails Without Using A Base Coat?
No, you cannot apply builder gel directly on your natural nails. You may use a base coat to strengthen your nails and prevent staining.
4. How Do I Apply Builder Gel On My Nails?
Apply a thin layer of builder gel on your nails (not touching the skin) and cure under a uv or led light. Repeat the process until you get the desired thickness and length. Finish with a topcoat and cure again.
5. How Long Does It Take For Builder Gel To Cure Under Uv Or Led Light?
Builder gel generally takes 2-3 minutes to cure under a uv light and 30-60 seconds under an led light. Follow the instructions on the product label for the specific curing time.
Conclusion
Using builder gel on natural nails requires some key steps to ensure a successful application. First, ensure that the nails are properly prepared and cleaned. Next, apply the gel in thin layers to avoid lumps and bubbles. Ensure that the gel is cured for the appropriate amount of time and that excess gel is removed before final curing.
Remember to use a fine-grit buffer to polish the nails and apply a topcoat to provide added strength and shine. Ultimately, with the right technique and patience, using builder gel on natural nails can result in a beautiful, long-lasting manicure.
Just remember to follow the guidelines and take your time for best results. Happy gel manicuring!

