Last Updated on June 18, 2025
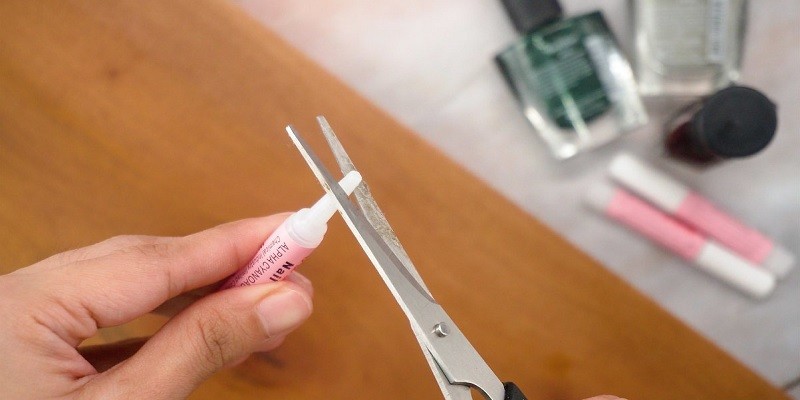
To open liquid nails, puncture the seal on the tube with a nail or screw. Squeeze the tube to dispense the adhesive.
Liquid nails is a popular construction adhesive used to bond a wide range of materials, including wood, metal, drywall, concrete, and more. Whether you’re a professional contractor or a diy enthusiast, using liquid nails can make your projects stronger, more durable, and longer-lasting. However, before you can start using liquid nails, you need to know how to open the tube properly. In this article, we’ll discuss different methods you can use to open liquid nails, along with some tips to make the process easier and mess-free. So, let’s get started!
Credit: www.liquidnails.ca
Understanding Liquid Nails
Liquid nails is a common adhesive used for various diy projects and constructions. It is known for its strong and durable bond, which makes it ideal for carpentry and construction applications. This versatile adhesive comes in different types such as heavy-duty, construction-grade, and multipurpose.
Before using any of the types, safety precautions and proper handling must be observed. Wear gloves and protective gear as some types of liquid nails contain harmful chemicals and have strong fumes. Moreover, choose a well-ventilated area to avoid inhaling the fumes.
When applying, make sure that the surface is clean and dry. Liquid nails is commonly used in woodworking, bricklaying, and flooring installations. It is best to understand the specific characteristics of each type to ensure the adhesive adequately fulfils your needs.
Identifying The Container
Opening liquid nails can be a daunting task, especially if you’re unsure how to identify the container. One thing to note is that liquid nails come in a variety of packaging options such as squeeze tubes, cartridges, and buckets. Each container has its own safety features which must be understood before attempting to open them.
It’s important to read the label for specific instructions and to wear the appropriate safety gear such as gloves and goggles. By understanding the packaging options and safety features, you can safely and confidently open any liquid nails container and get to work on your project.
Tools Required
Opening liquid nails might seem like a daunting task, but with the necessary tools, it can be a breeze. You will need a pair of pliers, a utility knife, and a chisel to get the job done. Ensure that the pliers are sturdy and have a good grip for maximum control.
The utility knife should have a sharp blade to open the container’s seal, while the chisel can be used to pry open the lid. Always wear gloves and goggles when handling these tools to avoid any injuries. Remember to keep the tools away from children and pets to maintain safety.
By following these steps, you can successfully open your liquid nails container and get started on your project.
Opening A Liquid Nails Container
Opening a liquid nails container can be tricky, but here’s a step-by-step guide to help. First, make sure the container and lid are clean. Use a cloth or paper towel to remove any debris. Next, grab a pair of pliers, and grab the lip of the lid.
Then twist the lid counter-clockwise to loosen it. If the lid is too tight, try tapping the bottom of the container on a hard surface to break the seal. Lastly, if you encounter any other problems such as a stuck lid or dried-up adhesive, try using a knife to separate the lid or adding a few drops of water to the adhesive and stirring it up.
With these tips, you’ll be able to open your liquid nails container with ease.
Safe Disposal Of Liquid Nails Container
Opening a liquid nails container may seem like an easy task, but disposing of it safely can be tricky. It is important to take necessary precautions before getting rid of it. Firstly, double-check the container to ensure that no liquid nails are left in it.
Next, allow it to dry completely and then wrap it in a thick plastic bag. You can also mix kitty litter or sand to the leftover content to solidify it. Avoid pouring liquid nails in drains or open fields. You can safely dispose of the container at a hazardous waste facility or contact your local waste management authority for proper guidelines.
Remember always to read the manufacturer’s directions and follow safe disposal practices to protect our environment.
Storing Liquid Nails
Storing liquid nails properly is important for its longevity. It is crucial to prevent the adhesive from drying out or becoming thick. Here are a few tips to follow: 1. Store the product in a cool, dry place, away from any extreme temperature changes, direct sunlight or freezing temperatures.
2. Keep the container tightly sealed when not in use. Air exposure can affect the adhesive’s quality. 3. Do not mix old and new adhesive. It can lead to inconsistencies in bonding quality. 4. Avoid letting dust or other contaminants get into the container.
This can affect the adhesive’s performance. 5. Ensure that the adhesive is kept out of reach of children and pets. By following these guidelines, you can make sure that your liquid nails doesn’t go to waste. Avoid these common mistakes and get the best results from your adhesive.
Tips For Using Liquid Nails Effectively
Using liquid nails can be tricky, but with the right approach, it can be a cinch. First and foremost, always shake the tube well before using it. Squeeze the adhesive out of the top and avoid leaving bubbles in your adhesive.
Apply the adhesive with even pressure, then hold the materials together for a few minutes before releasing. If working with wood or porous surfaces, make sure to apply adhesive to both surfaces. Common mistakes include using too little adhesive, not using it in the ideal temperature or humidity conditions, or allowing the tube to sit with air inside.
By keeping these tips in mind, you’ll be able to use liquid nails more effectively and avoid any potential complications.
Frequently Asked Questions For How To Open Liquid Nails?
What Is The Proper Way To Open A Tube Of Liquid Nails?
To open a tube of liquid nails, cut the tip of the nozzle at a 45-degree angle with a sharp utility knife. Always wear safety glasses and gloves. Ensure the tip is large enough for the bead size you need.
Insert the tube into a caulking gun and pull the trigger gently to apply the adhesive. Once you’re finished, tightly reseal the nozzle and store the tube upside down to prevent drying.
Is There Any Specific Tool Or Equipment Needed To Open Liquid Nails?
No, there is no specific tool or equipment required to open liquid nails. You can use a standard caulking gun to dispense the adhesive from the tube. Simply cut off the tip of the tube and insert it into the gun to get started.
How Do I Prevent The Liquid Nails From Hardening Once I Open It?
To prevent liquid nails from hardening after opening, store it in a cool, dry place away from direct sunlight. Use a pin to puncture the foil seal and replace the cap tightly after use to prevent air from entering. Keep the container upside down to ensure it’s always ready for use.
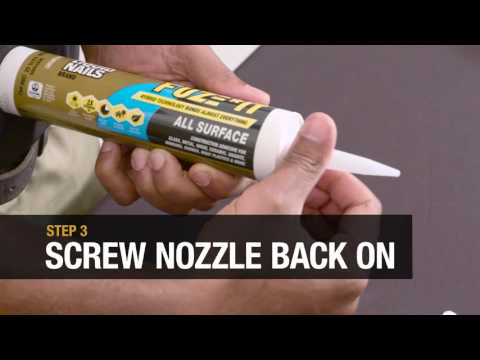
Can I Reuse The Nozzle After Opening A Tube Of Liquid Nails?
It is not recommended to reuse the nozzle after opening a tube of liquid nails. Once the nozzle has been used, it will be difficult to reseal and may cause the adhesive to dry out. It is best to use a new nozzle for each application to ensure proper use of the product.
How Long Can I Keep Liquid Nails Once It’S Been Opened?
Once liquid nails has been opened, it can be stored for up to two years if sealed correctly. However, if exposed to air, it can dry out and become unusable within six months. Keep it in a cool, dry place, away from heat sources and direct sunlight.
Should I Wear Any Protective Gear While Opening Liquid Nails?
It is recommended to wear protective gear when opening liquid nails. Gloves, safety glasses, and a mask can protect against skin irritation, eye irritation, and inhaling fumes. It is also important to work in a well-ventilated area and avoid prolonged exposure.
Conclusion
Finally, opening liquid nails might not be easy, but it is definitely doable with the right tips and tricks. From using a puncturing tool to simply warming the container, there are several ways to successfully open the adhesive. It is important to take safety precautions by wearing gloves and eye protection as liquid nails can be harmful if it comes into contact with skin or eyes.
Additionally, storing the adhesive properly can prevent it from drying out or hardening, ultimately saving money and avoiding frustration. By following these steps and techniques, you can confidently tackle the challenge of opening liquid nails and complete your diy projects with ease.
Keep these tips in mind and never let a stubborn adhesive stop you from achieving your goals!
