Last Updated on June 18, 2025
Making a hair wrap is simple and fun! You will need a piece of fabric that is long enough to tie around your head. Start by folding the fabric in half lengthwise.
Tie the ends together with a knot. Place it on your head so that one end hangs over your right shoulder, and the other end hangs down over your left shoulder. Take the top end of the wrap and cross it behind your neck, then pull it across to the front again and tie into a bow at or near where you would like to have it sit when finished.
Next take both sides of fabric from either side of your face and bring them towards each other in back, crossing as necessary until they meet at middle point in back (or wherever you’d like). Finally, tie them together securely with another knot to keep everything in place – voila! Your hair wrap is complete!
- Gather your supplies: You will need a length of ribbon, fabric scraps, scissors and pins.
- Measure the ribbon to fit around your head: Wrap the ribbon around your head like a headband, then add an extra 10 inches to account for overlap when tying it together in the back. Cut the ribbon to desired length.
- Cut out fabric pieces: Using scrap fabric or any other type of material you prefer, cut out two 8×12 inch rectangles that will be used as the base for wrapping your hair tie with materials of choice.
- Pin the fabric pieces together on one side to create a tube shape : Lay both rectangles flat on top each other right sides facing up so they are overlapping by at least 1/2 an inch and pin them together along one short side only (this will become the open end). Now sew along this pinned edge using a straight stitch leaving about 1/4-inch seam allowance from edge.
- Turn inside out & iron flat: Turn tube piece inside out so that all seams are hidden on inside and press with hot iron if needed for best look.
- Tie ends of wrap together : Place ends of wrap over each other overlapping about 2-inches in front , now use thin elastic string or thread & needle to secure ends tightly by stitching crisscross pattern at least 4 times across width until securely fastened.
- Assemble Hair Wrap : Finally take finished Hair Wrap & place it over elastic band securing it into place by tucking edges under itself ,you may also add embellishments such as beads or sequins here if you wish.
How to Make a Hair Wrap Scarf?
Making a hair wrap scarf is an easy and fun way to add some style and texture to your look. All you need is a square piece of fabric, scissors, and pins. First, fold the fabric in half diagonally from corner to corner so it forms a triangle shape.
Then tie one end of the triangle around your head with both sides hanging down evenly at the back. Finally, wrap each side around your neck and then secure them together with pins or brooches for extra flair! With these simple steps, you can make an on-trend statement that will turn heads wherever you go!
Credit: www.lorealparisusa.com
How Do You Make Fake Hair Wraps?
Making your own fake hair wraps is a great way to create unique hairstyles and make a fashion statement. To begin, you’ll need some synthetic hair extensions that are available in various colors. You can use either clip-ins or pre-braided wefts – whichever type of extension works best for the look you’re going for.
Next, measure out the amount of wrap you need by wrapping it around your head like a headband. Once this is done, cut off any extra material at both ends and secure the wrap with bobby pins or barrettes. Finally, attach each side of the wrap to your natural hair using small rubber bands and hairspray for an extra secure hold.
With these easy steps, you can make your own stylish fake hair wraps quickly and easily!
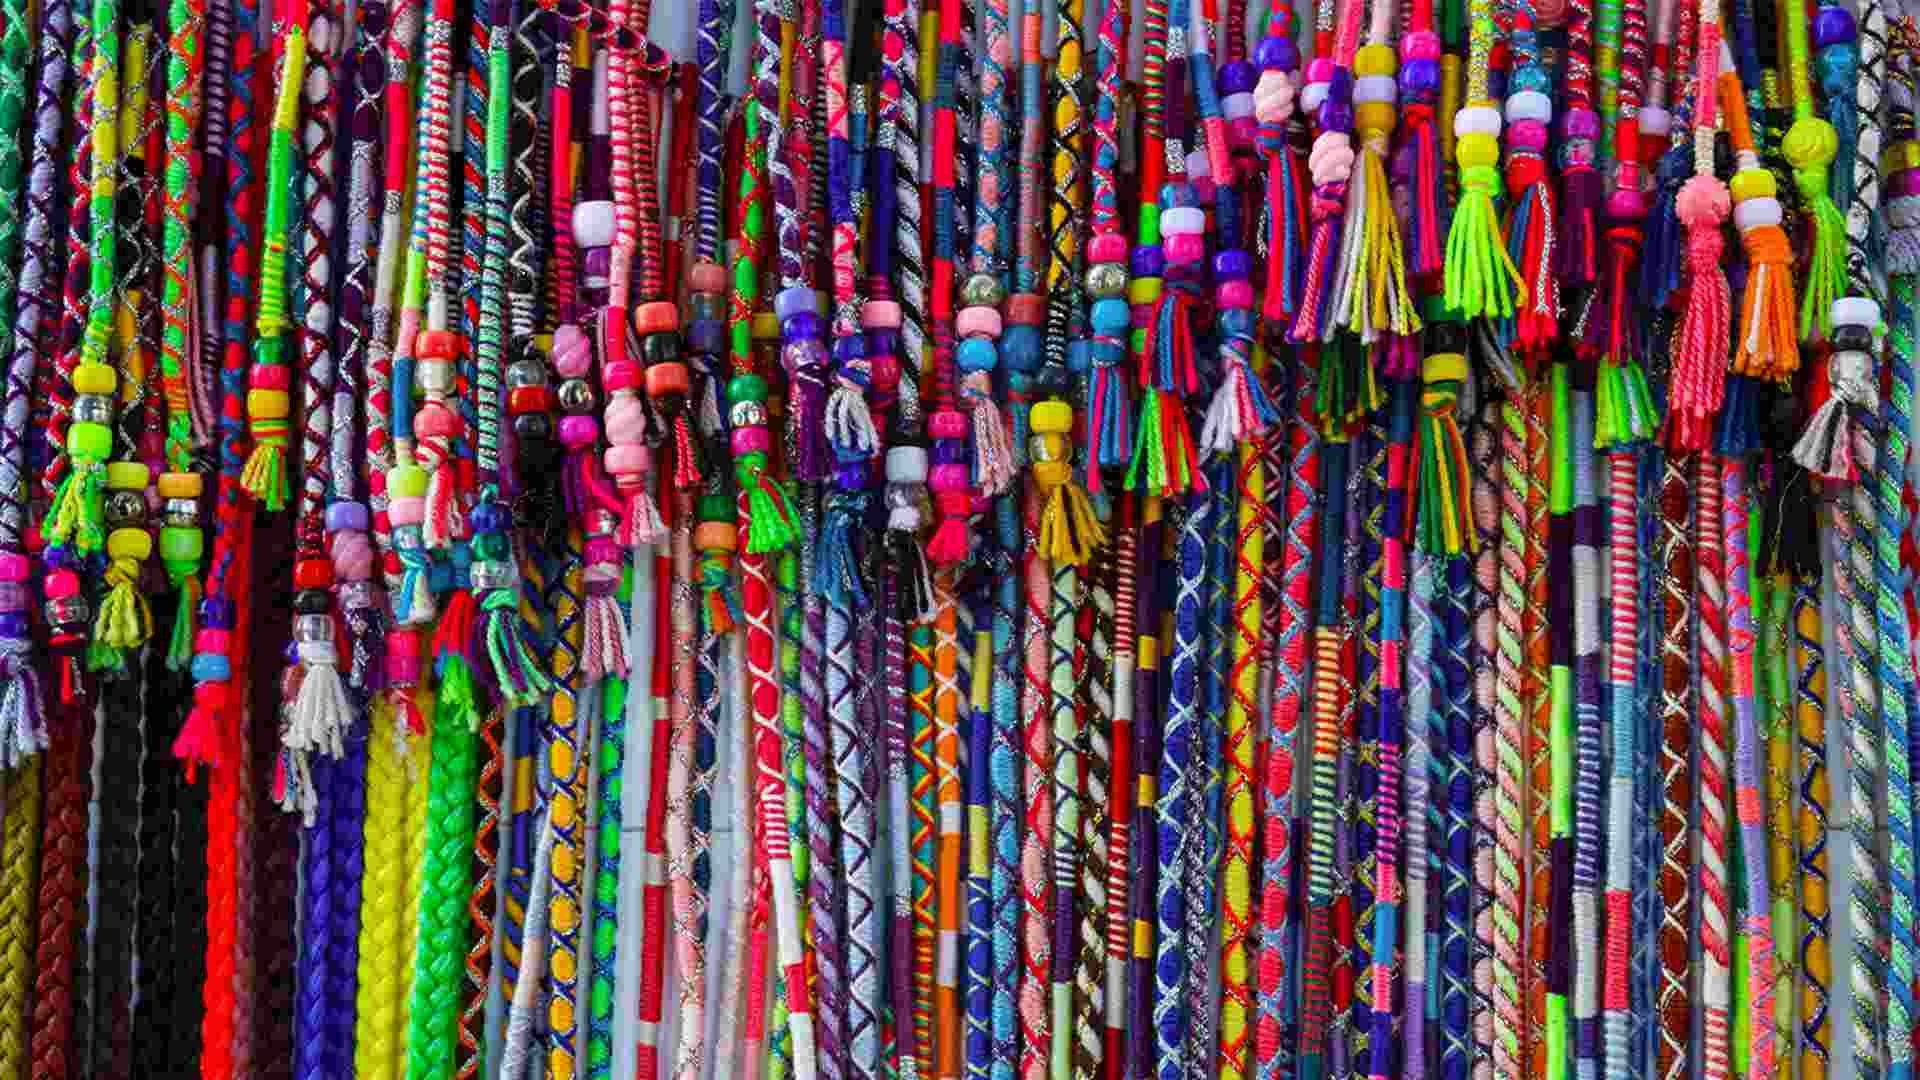
What String to Use for Hair Wraps?
When it comes to finding the perfect string for hair wraps, there are many different options available. Depending on your particular needs and preferences, you can choose from cotton strings, nylon strings, hemp strings or even elastic bands. Cotton is a popular choice because of its softness and breathability but some find that it’s too thick for intricate braiding styles.
Nylon is more durable than cotton and offers better grip when wrapping but isn’t as comfortable against the scalp. Hemp is an excellent option if you want something stronger yet still lightweight while rubber bands offer superior strength with minimal stretchiness. Ultimately, choosing the right string will depend on how much tension you need in order to secure your wrap style without causing any irritation or discomfort.
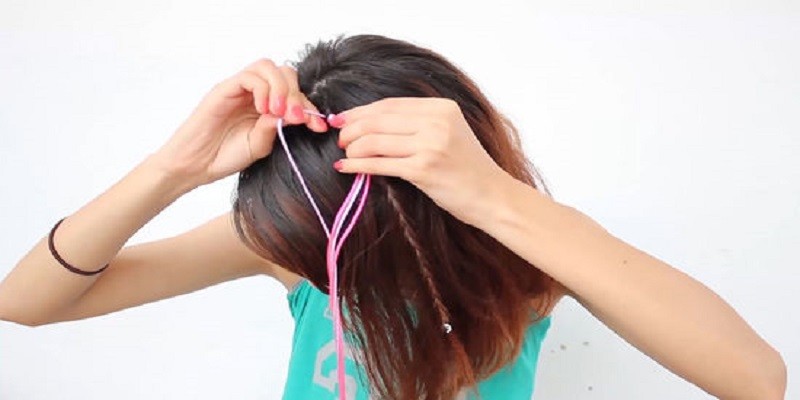
How Do You Wrap Your Hair With String And Beads?
Wrapping your hair with string and beads is a great way to add a unique touch of style to your look. To do this, you’ll need some thin elastic string, large-hole beads, and scissors. First, tie the elastic string around one section of your hair at the nape of your neck with an overhand knot.
Then separate that section into small sections and braid each one tightly. Once all the sections are braided, use the scissors to cut off about four inches of remaining elastic string from the end. Now it’s time for you to start adding in those beads!
Take one bead at a time and slide it onto the length of one braid until it reaches near its end; make sure that when adding in new beads they’re evenly spaced apart from each other. When you reach near the bottom part of each braid, secure them together by tying two pieces of excess elastic string together with an overhand knot or a double knot (depending on how much tension you want). Continue this process until all your braids are finished then fluff out any extra strings if necessary!
With these steps completed, not only have you successfully added beautiful accents to your hairdo but also given yourself beautiful protection against potential split ends as well!
How Long Does a Hair Wrap Stay In?
A hair wrap is a great way to protect your hair from the elements, such as sun and wind damage, while also giving you an easy style. But how long does a hair wrap stay in? The answer depends on several factors, including the type of material used for the wrap and how securely it was attached.
Generally speaking, synthetic materials like polyester or nylon will last longer than natural fabrics like cotton or silk. The quality of the product can also affect longevity; higher-quality wraps tend to hold up better over time than cheaper versions. Additionally, if there’s too much tension put on the wrap during application (for example by pulling tight when tying) this could cause it to come loose more quickly.
On average, most people can expect their hair wrap to last between two and four days before needing readjustment – but with proper care and attention you may be able to extend its lifespan even further!
How to do a Hair Wrap! | DIY Hair | Brown Haired Bliss | Quarantine Hair
Conclusion
Following the steps outlined in this blog post, you can create a beautiful and stylish hair wrap. With some practice, you will be able to design your own unique style that complements your look. Hair wraps are an easy and fun way to add color and flair to any outfit without having to make any permanent changes.
Whether you prefer classic styles or something bolder, a hair wrap is sure to turn heads!
