Last Updated on June 18, 2025
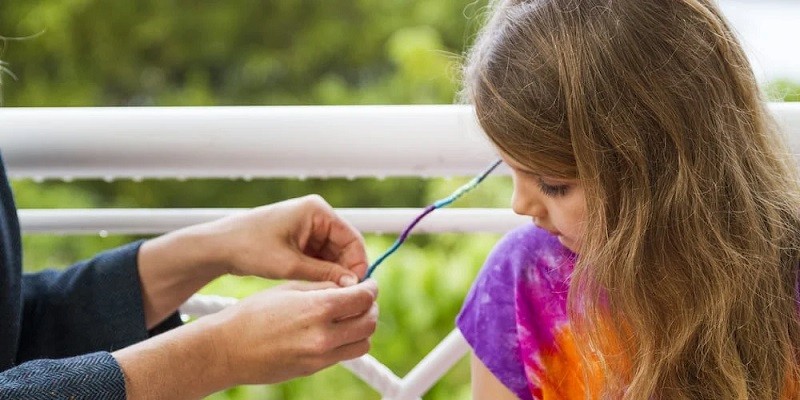
A hair wrap with string is a simple and creative way to style your locks. To start, gather the necessary materials: string in any color or pattern of your choice, small rubber bands, and a tail comb. First, section off the top half of your hair by using the comb to create a part at the crown of your head.
Tie off this section with one of the rubber bands. Separate out several thin sections of hair from this bottom half and begin wrapping them around each other in any desired pattern or design you want for your wrap. Once you’ve achieved the look you want with these strands, tie them off at their tips with another piece of elastic banding.
Now take two pieces of string that are long enough to fit around all four sides (front back left right)of your head and tie each piece of fat to the back of the neck with a rubber band. Begin braiding both strings together until they reach about halfway down its length then secure it once again so it doesn’t unravel . Finally bring the braid up from behind ear on both sides and cross over each other above forehead before tying securely underneath chin near nape where you tied original ponytail previously.
- Step 1: Gather the supplies needed for this project. You will need a comb, scissors, string and hair ties.
- Step 2: Comb your hair to remove any knots or tangles. Make sure all of the hair is smooth before beginning the wrap process.
- Step 3: Separate out a small section of your hair at the top of your head and secure it with a hair tie or elastic band. This part of the process will be used to secure the string when you are finished wrapping it in your strands.
- Step 4: Take one end of the string and begin wrapping it around each strand that you have divided off from Step 3 until you reach where you began tying up your hair in Step 2. Securely tie off both ends together so that they stay in place while you continue wrapping more sections of your mane with other strings if desired.
Credit: www.lorealparisusa.com
How Long Do String Hair Wraps Last?
String hair wraps can be a fun and creative way to accessorize your look. But, you may be wondering how long they last? The answer is that it really depends on the quality of string used, how often and in what conditions you wear them, and other factors like contact with water or chemicals.
Generally speaking, though, most people find that if taken care of properly their string hair wraps will usually last around four to eight weeks. Additionally, some styles can even last up to several months when taken care of well! To help ensure your string hair wrap lasts as long as possible it’s important to keep them dry and away from any harsh chemicals such as shampoo or conditioner.
Taking good care of your strings will also make sure they remain tangle free throughout the life-span of the wrap!
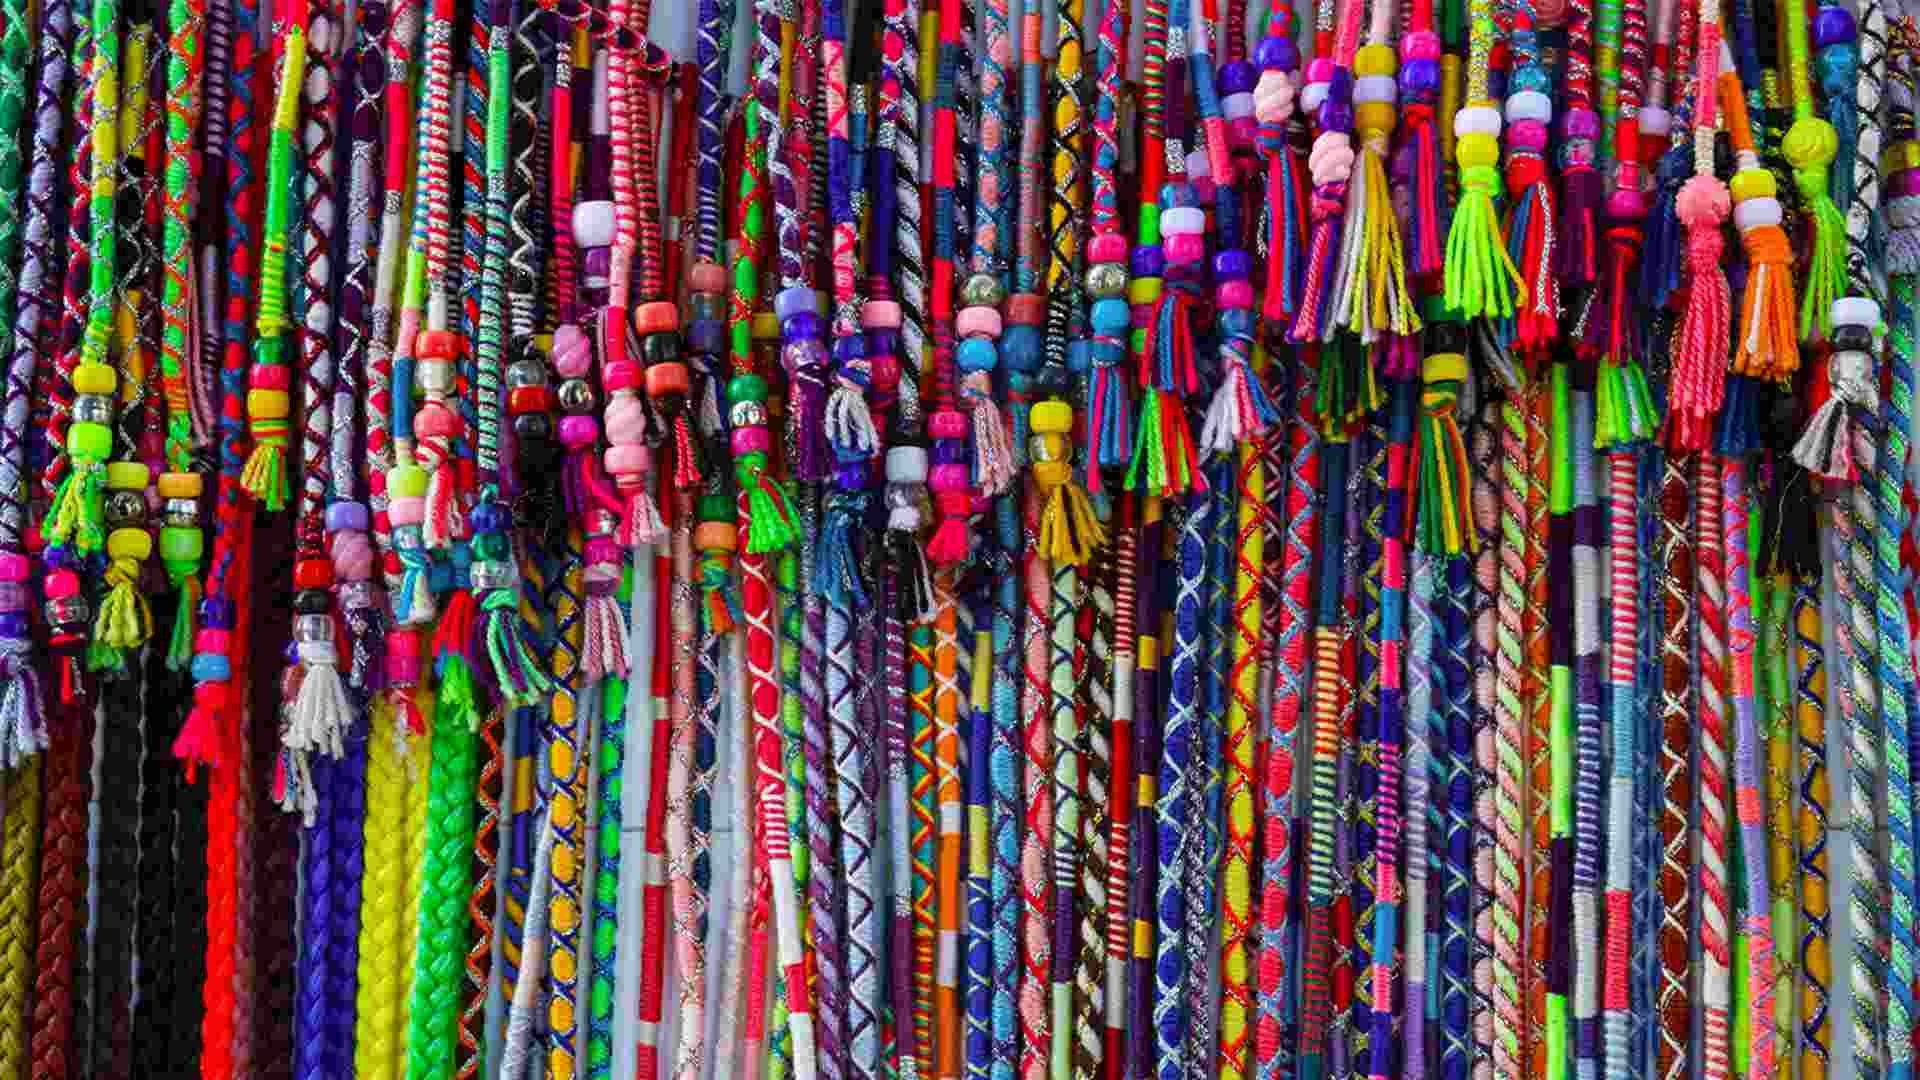
How Much String Do I Need for a Hair Wrap?
To figure out how much string you need for a hair wrap, it’s important to consider the length and thickness of your hair. For thin or shorter hair, about 20-25 yards of string will usually be sufficient. If you have thicker or longer locks, opt for 30-50 yards of string to ensure that you can complete an entire wrap without running out.
Additionally, if you plan on using any intricate designs such as braids or plaits in your wrap design then make sure to add extra yardage so that the patterns don’t get too tight with the limited amount of string. Finally, when measuring out your desired length for wrapping around your head remember to double it so that there is enough slack in order tie a secure knot at the end once completed.
How to Do Hair Wrap With Embroidery Thread?
If you’re looking for a fun, easy, and stylish way to spice up your hairstyle, then why not try hair wrapping with embroidery thread? Hair wrapping is an ancient technique that involves using strands of colorful threads to create intricate patterns on the scalp. It’s mostly non-permanent and can easily be removed or changed when you feel like it.
To get started, all you need is some quality embroidery thread in any color(s) of your choice, a few bobby pins or clips to hold the sections in place while wrapping them with the thread, and some patience as this may take a bit of practice if it’s your first time doing it. Start by sectioning off parts of your hair into small subsections where you’d like to make the pattern. Then wrap each section around two fingers until tight but not too tight (you don’t want any pain).
Once wrapped around two fingers tightly enough that no more twisting can be done without causing strain on the hairs, carefully slide out one finger at a time until only one twist remains. Secure this twist either with a bobby pin/clip at both ends or simply tie off with an extra piece of embroidery thread so that it won’t unravel during styling. Continue in this fashion along each strand/section until you’ve achieved the desired effect!
With just little effort and creativity, you’ll have gorgeous hair wraps made from beautiful colored threads – perfect for adding a touch of pizzazz to any look!
How Do You Wrap Braids With String?
When it comes to wrapping braids with string, the key is in thoroughly securing each braid and making sure that you are using the right type of material. To begin, choose a thin and durable cord or twine for wrapping your braids. You can use natural materials like cotton yarn or synthetic fibers like nylon thread.
Make sure that whatever material you use does not have any knots as this could become uncomfortable against your scalp as time goes on. Start by selecting one of your small box braids and tie off the end with a single knot at the base of the braid near your scalp. Wrap the string around each individual strand going up towards the end of your hair, making sure to create tension so that all strands stay together when pulled tightly.
Securely wrap twice around each strand before moving onto another section until you reach just below where you want to stop wrapping (typically about two inches away from where my ends meet). Tie off with a double knot at this point and cut any excess string away if necessary. Once done repeating these steps for every braid, check once more to make sure they’re all securely wrapped in place – after which you can enjoy rocking those stylishly wrapped locks!
DIY Summer hair wrap tutorial | easy
How to Do a Hair Wrap on Yourself
A hair wrap is a great way to add some style and color to your hair without the need for permanent dyes or bleaches. To do a hair wrap on yourself, begin by gathering all of the necessary items: one-inch wide strips of fabric cut from t-shirts or other lightweight materials, two elastic bands, and scissors. Next, create small sections in your hair that are no wider than the fabric strips you have prepared.
Then, taking each strip at a time, tie it around individual strands close to your scalp before securing it with an elastic band. Finally, carefully trim away any excess fabric around each section and admire your new fabulous look!
Conclusion
Creating a hair wrap with string is a great way to add some extra flair and style to your look. With just some string and creativity, you can create an amazing hair accessory that looks like it was crafted by a professional stylist! It’s also easy to customize the design of your wrap so you can make something unique that fits your individual style.
All in all, doing a hair wrap with string is an enjoyable and creative activity that will leave you feeling stylish and confident.
